From inside (document excerpt):
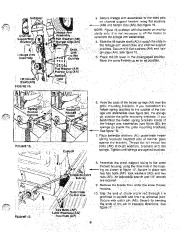
ASSEMBLY PARTS SNOW THROWER ATTACHMENT Model Numbers 190-491 TMO-3384806 IMPORTANT: Read Safety Rules and Instructions Carefully FORM NO: 770-5323L A ‘>:TH’S ·SY.MBOlPOlN’rS OUT IMPO·.RTAN’·T SAFETY INSTRUCTIONS WHICH, IF NOT FOllOWEO, COUlO.ENDANGER THE PERSON A’ ” ::4:’ _.AL than 1/161′ away from theuppersheave of the puney. See figure 21 ,inset Tightenthe hex boltand nut to hold the bracket in this .position, / / Hex Boll (AU) Belleville Washe, (AV) c.
Snow Blower and Snow Thrower User Manual Free Download. Snow Removal Operator’s Manual. Free Manual Download PDF.
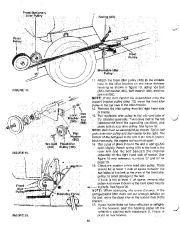
PlacetheU leverin· the disengagedpositi(}n Make certain the brake pad is against the .upper sheavEiOf the .pulley. 18. Attach spark plug wire(s) to spark plug(s). Hex Nut (AW) FIGURE 21. 19. Check tire pressure. It may be necessary to put nibreairinto the front tires due to weight of the Mow thrower. 20. Place the lift leYlrin·.thedisenga.ged position (aU the way back) tart th 13 .engine, ndrnakecertain the augers arenotturning lftheaugers turn in the .disengaged position ,adJustas instructed .·in step 21, Reassemble and recheck the adJustment for neutral pO$itlOn 21. If. necessary,. acjjust the ?OntrcHrod onthe Lindercarriage of the tractor ·asfoUows ( II·unitsexcept with 44 ” decksorwith>electricpTO), a.Placethe·Hftle f ron· tracto(jllthehighest the. Lever cutting height position (position just below ·disenga ement)as sh9Wn ·in figqre22. b. “Rernoveferrufeon: the control rod from the linkage bracketbYrern()ving th.ecotterpin arid flat washer Adju t 1heferr IE)SO th control rod is a :long asp() siple:(otherend rod of b?Uomsout?tthefront ft e· slot In·.
Wikipedia’s page for MTD Products
Publisher: www.mtdproducts.com


 MTD 190-491-000 Snow Blower Owners Manual - 1 of 24
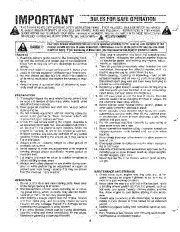 MTD 190-491-000 Snow Blower Owners Manual - 2 of 24
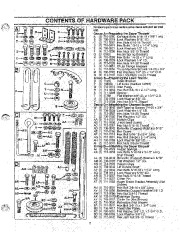 MTD 190-491-000 Snow Blower Owners Manual - 3 of 24
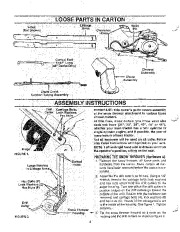 MTD 190-491-000 Snow Blower Owners Manual - 4 of 24
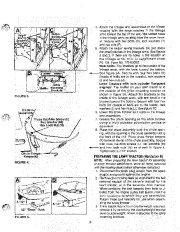 MTD 190-491-000 Snow Blower Owners Manual - 5 of 24
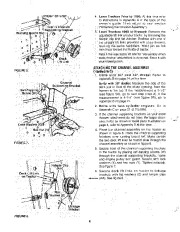 MTD 190-491-000 Snow Blower Owners Manual - 6 of 24
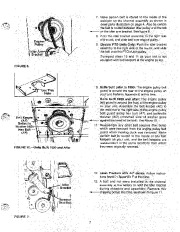 MTD 190-491-000 Snow Blower Owners Manual - 7 of 24
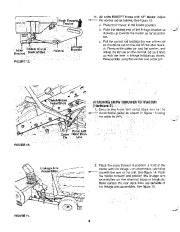 MTD 190-491-000 Snow Blower Owners Manual - 8 of 24
 MTD 190-491-000 Snow Blower Owners Manual - 9 of 24
 MTD 190-491-000 Snow Blower Owners Manual - 10 of 24