From inside (document excerpt):
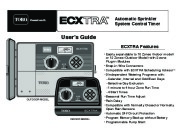
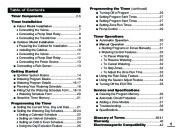
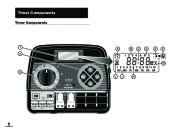
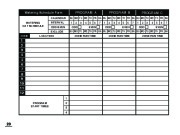
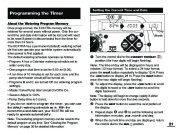
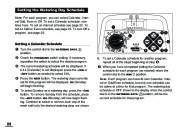
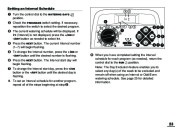
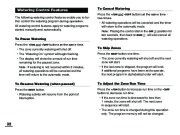
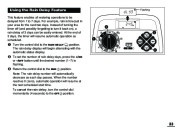
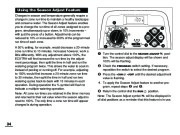
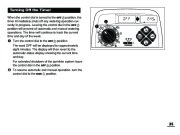
Automatic Sprinkler System Control Timer User’s Guide ECXTRA Features ON MANUAL START NEXT A B C OFF ON MANUAL START NEXT OUTDOOR MODEL OFF INDOOR MODEL · Easily expandable to 10 Zones (Indoor model) or 12 Zones (Outdoor Model) with 2-zone Plug-in Modules · Snap-in Wire Connectors · Compatible with ECXTRA Scheduling Advisor · 3 Independent Watering Programs with: – Calendar, Interval and Odd/Even Days – Selective Day Exclusion – 1-minute to 4-hour Zone Run Time – 4 Start Times · Seasonal Run Time Adjust · Rain Delay · Compatible with Normally Closed or Normally Open Rain Sensors · Automatic 24V Circuit Protection · Program Memory Backup without Battery · Programmable Pump Start TM Table of Contents Timer Components 2-5 Timer Installation I Programming the Timer (continued) I Indoor Model Installation 6 T Connecting the Valves 7 T Connecting a Pump Start Relay 8 T Connecting the Transformer .8 Outdoor Model Installation .9 T Preparing the Cabinet for Installation 9 T Installing the Cabinet .10 T Connecting the Valves 11 T Connecting a Pump Start Relay 12 T Connecting the Power Source 13 Connecting a Rain Sensor .13 Sprinkler System Basics 14 Watering Program Basics 15 Watering Program Details 16-17 Planning Your Watering Schedule .18 Filling Out the Watering Schedule Form .18-19 T Watering Schedule Form 20 About the Timer Memory .21 Setting the Current Time, Day and Date 21 Setting the Watering Day Schedule 22-24 T Setting a Calendar Schedule 22 T Setting an Interval Schedule .23 T Setting an Odd or Even Schedule .24 T Using the Day Exclusion Feature .25 Turning Off a Program 26 Setting Program Start Times .27 Setting Program Start Times .27 Setting Zone Run Times .28 Pump Control 29 Timer Operations I I Getting Started Automatic Operation .30 Manual Operation 31 T Starting Programs or Zones Manually .31 T Watering Control Features 32 T To Pause Watering .32 T To Resume Watering 32 T To Cancel Watering 32 T To Skip Zones .32 T To Adjust the Zone Run TIme .33 Using the Rain Delay Feature 33 Using the Season Adjust Feature 34 Turning Off the ECXTRA 35 Service and Specifications I I Programming the Timer I I Clearing the Program Memory .36 Automatic Circuit Protection 37 Adding a Zone Module .37 Troubleshooting .38 Specifications .39 Glossary of Terms .39-41 Warranty .42 Electromagnetic Compatibility 42 1 Timer Components Timer Components B F ON MANUAL START NEXT OFF SENSOR 24 VAC 2 Timer Components The following are brief descriptions of the timer components and display elements.
Lawn Sprinkler User Manual Free Download. Irrigation Free Instruction Manual Download PDF.
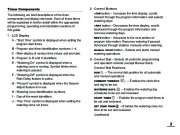
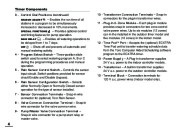
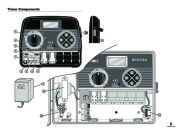
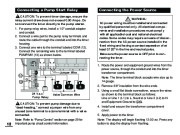
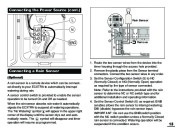
Each of these items will be explained in further detail within the appropriate programming, operating and installation sections of this guide. 1 – LCD Display A – “Start Time ” symbol is displayed when setting the program start times. B – Program start time identification numbers 14. C – Main display of various time values and prompts. D – Program A, B and C identifiers. E – “Watering On ” symbol is displayed when a watering zone is running. Symbol blinks when watering is paused. F – “Watering Off ” symbol is displayed when the Rain Delay feature is active. G – “Percent ” symbol is displayed when the Season Adjust feature is in use. H – Watering zone identification numbers. I – Day-of-the-week identifiers. J – “Run Time ” symbol is displayed when setting the watering zone run times. 2 – Control Buttons +/ON button Increases the time display, scrolls forward through the program information and selects watering days. /OFF button Decreases the time display, scrolls backward through the program information and removes watering days. NEXT button Advances to the next portion of program information. Resumes watering if paused. Advances through stations manually when watering. MANUAL START button Selects and starts manual watering operations. 3 – Control Dial Selects all controller programming and operation controls (except Manual Start). Control Dial Positions RUN The normal dial position for all automatic and manual operations. Enables the clock time CURRENT TIME/DAY and day to be set. WATERING DAYS Enables the watering day schedules to be set and reviewed. START TIMES Enables the program start times to be set and reviewed. SET ZONE TIMES Enables the watering zone run time to be set and reviewed. (continued) 3 Timer Components 3 – Control Dial Positions (continued) SEASON ADJUST Enables the run time of all stations in a program to be simultaneously increased or decreased in 10% increments. SPECIAL FUNCTIONS Provides optional control and timing features for pump operation. RAIN DELAY Enables all watering operations to be delayed from 1 to 7 days. OFF Shuts off and prevents all automatic and manual watering activity. 4 – Program Select Switch Three-position slide switch used to select watering program A, B or C during the programming procedures and manual operation. 5 – Rain Sensor Control Switch Controls the sensor input circuit. Switch positions provided for sensor circuit Enable and Disable (bypass). 10 – Transformer Connection Terminals Snap-in connectors for the plug-in transformer wires. 11 – Plug-In 2- Zone Module Each plug-in module provides snap-in connectors for two zone control valve power wires. Up to six modules (12 zones) can in the installed in the outdoor timer model and five modules (10 zones) in the indoor model. 12 – Time PodTM Port Accepts the (optional) ECXTRA Time Pod unit to transfer watering schedule data from the Toro Computer Aided Scheduling software program to the ECXTRA timer. 13 – Power Supply A Plug-in transformer supplies 24 V a.c. power to the indoor controller models. 14 – Transformer A built-in transformer supplies 24 V a.c. power to the outdoor controller models. 15 – Terminal Block Connection terminals for 120 V a.c. power wires (Indoor model only). 6 – Rain Sensor Configuration Switch Selects either Normally Open or Normally Closed sensor operation for the type of sensor installed.


 Toro Owners Manual - Enlarge page 1 of 44
 2 of 44
 3 of 44
 4 of 44
 5 of 44
 6 of 44
 7 of 44
 8 of 44
 9 of 44
 10 of 44
 11 of 44
 12 of 44
 13 of 44
 14 of 44
 15 of 44
 16 of 44
 17 of 44
 18 of 44
 19 of 44
 20 of 44
 21 of 44
 22 of 44
 23 of 44
 24 of 44
 25 of 44
 26 of 44
 27 of 44
 28 of 44
 29 of 44
 30 of 44
 31 of 44
 32 of 44
 33 of 44
 34 of 44
 35 of 44
 36 of 44
 37 of 44
 38 of 44
 39 of 44
 40 of 44
 41 of 44
 42 of 44
 43 of 44
 44 of 44