From inside (document excerpt):
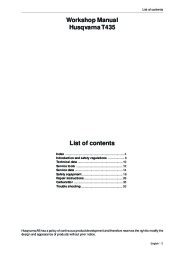
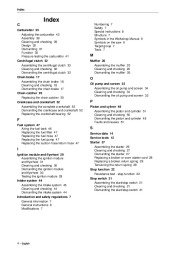
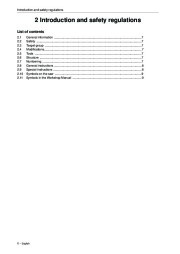
Workshop manual T435 English List of contents Workshop Manual Husqvarna T435 List of contents Index 4 Introduction and safety regulations . 6 Technical data . 10 Service tools . 12 Service data . 14 Safety equipment 16 Repair instructions 26 Carburettor 35 Trouble shooting . 53 Husqvarna AB has a policy of continuous product development and therefore reserves the right to modify the design and appearance of products without prior notice. English 3 Index Index C Carburettor 35 Adjusting the carburettor 43 Assembly 39 Cleaning and checking 39 Design 35 Dismantling 37 Function 35 Pressure testing the carburettor 41 Centrifugal clutch 32 Assembling the centrifugal clutch 33 Cleaning and checking 32 Dismantling the centrifugal clutch 32 Chain brake 17 Assembling the chain brake 18 Cleaning and checking 18 Dismantling the chain brake 17 Chain catcher 20 Replacing the chain catcher 20 Crankcase and crankshaft 52 Assembling the complete crankshaft 52 Dismantling the crankcase and crankshaft 52 Replacing the crankshaft bearing 52 Numbering 7 Safety 7 Special instructions 8 Structure 7 Symbols in the Workshop Manual 9 Symbols on the saw 9 Target group 7 Tools 7 M Muffler 20 Assembling the muffler 20 Cleaning and checking 20 Dismantling the muffler 20 O Oil pump and screen 33 Assembling the oil pump and screen 34 Cleaning and checking 34 Dismantling the oil pump and screen 33 P Piston and cyliner 48 Assembling the piston and cylinder 51 Cleaning and checking 50 Dismantling the piston and cylinder 48 Faults and causes 51 F Fuel system 47 Airing the fuel tank 46 Replacing the fuel filter 47 Replacing the fuel hose 47 Replacing the fuel pump 47 Replacing the suction hose/return hose 47 S Service data 14 Service tools 12 Starter 27 Assembling the starter 29 Cleaning and checking 27 Dismantling the starter 27 Replacing a broken or worn starter cord 28 Replacing a broken return spring 29 Tensioning the return spring 28 Stop function 22 Resistance test – stop function 22 Stop switch 21 Assembling the start/stop switch 21 Cleaning and checking 21 Dismantling the start/stop switch 21 I Ignition module and flywheel 29 Assembling the ignition module and flywheel 31 Cleaning and checking 30 Dismantling the ignition module and flywheel 30 Testing the ignition module 29 Intake system 44 Assembling the intake system 45 Cleaning and checking 44 Dismantling the intake system 44 Introduction and safety regulations 7 General information 7 General instructions 8 Modifications 7 4 English Index T Tank unit 46 Dismantling 46 Technical data 10 Throttle lockout, throttle and spring 23 Assembling the throttle lockout, throttle and spring 24 Cleaning and checking 23 Dismantling the throttle lockout, throttle and spring 23 Trouble shooting 54 Trouble shooting techniques 55 V Vibrating damping system 48 Assembly 48 Cleaning and checking 48 Dismantling 48 English 5 Introduction and safety regulations 2 Introduction and safety regulations List of contents General information 7 Safety .7 Target group .7 Modifications 7 Tools .7 Structure .7 Numbering 7 General instructions 8 Special instructions .8 Symbols on the saw .9 Symbols in the Workshop Manual 9 6 English Introduction and safety regulations 2 Introduction and safety regulations 2.1 General information This Workshop Manual provides a comprehensive description of how to trouble shoot, repair and test the chain saw.
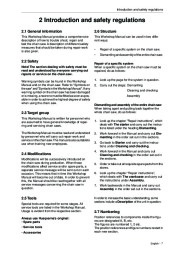
A description of different safety measures that should be taken during repair work is also given. 2.6 Structure This Workshop Manual can be used in two different ways: · · Repair of a specific system on the chain saw. Dismantling and assembly of the entire chain saw. 2.2 Safety Note! The section dealing with safety must be read and understood by everyone carrying out repairs or service on the chain saw. Warning symbols can be found in this Workshop Manual and on the chain saw. Refer to “Symbols on the saw ” and “Symbols in the Workshop Manual “. If any warning symbol on the chain saw has been damaged or is missing, a new one must be fitted as soon as possible in order to achieve the highest degree of safety when using the chain saw. Repair of a specific system When a specific system on the chain saw must be repaired, do as follows: 1. Look up the page for the system in question. 2. Carry out the steps: Dismantling Cleaning and checking Assembly Dismantling and assembly of the entire chain saw When taking apart and putting back together the whole chain saw, do as follows: 1. Look up the chapter “Repair instructions “, which deals with The starter and carry out the instructions listed under the heading Dismantling. 2. Work forward in the Manual and carry out Dismantling in the order set out in the sections. 3. Go back to Starter and carry out the instructions under Cleaning and checking. 4. Work forward in the Manual and carry out Cleaning and checking in the order set out in the sections. 5. Order or take out all requisite spare parts from the stores. 6. Look up the chapter “Repair instructions “, which deals with The crankcase and carry out the instructions under Assembly. 7. Work backwards in the Manual and carry out Assembly in the order set out in the sections. In order to increase the basic understanding, some sections include a Description of the unit in question. 2.3 Target group This Workshop Manual is written for personnel who are assumed to have general knowledge of repairing and servicing chain saws. The Workshop Manual must be read and understood by personnel who will carry out repair work and service on the chain saw. The manual is also suitable to use when training new employees.
Wikipedia’s page for Husqvarna
Publisher: www.husqvarna.com


 Husqvarna T435 Chainsaw Workshop Manual, 2007,2008,2009 - Enlarge page 1 of 56
 2 of 56
 3 of 56
 4 of 56
 5 of 56
 6 of 56
 7 of 56
 8 of 56
 9 of 56
 10 of 56
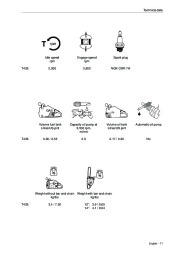 11 of 56
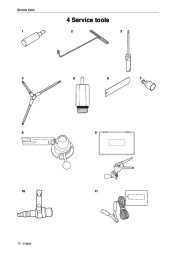 12 of 56
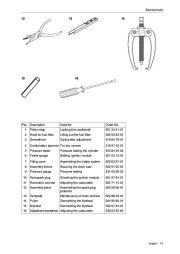 13 of 56
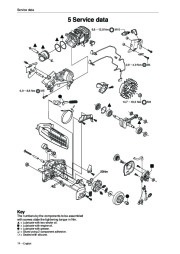 14 of 56
 15 of 56
 16 of 56
 17 of 56
 18 of 56
 19 of 56
 20 of 56
 21 of 56
 22 of 56
 23 of 56
 24 of 56
 25 of 56
 26 of 56
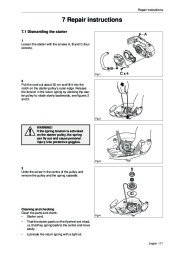 27 of 56
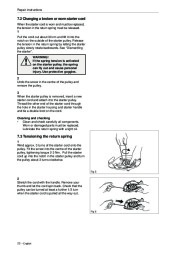 28 of 56
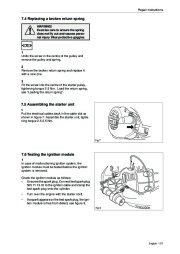 29 of 56
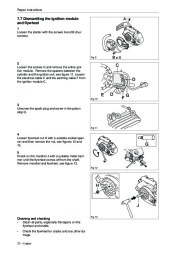 30 of 56
 31 of 56
 32 of 56
 33 of 56
 34 of 56
 35 of 56
 36 of 56
 37 of 56
 38 of 56
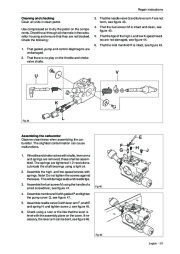 39 of 56
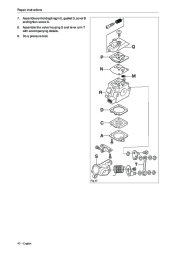 40 of 56
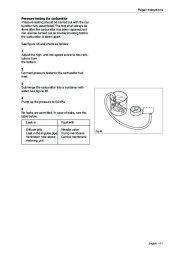 41 of 56
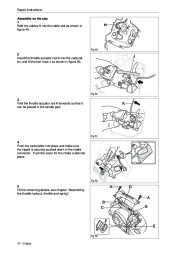 42 of 56
 43 of 56
 44 of 56
 45 of 56
 46 of 56
 47 of 56
 48 of 56
 49 of 56
 50 of 56